How to Create a WordPress Website: A Beginner’s Guide
Learn how to create a WordPress website from the ground up, including choosing hosting, installing WordPress, selecting a theme, adding pages, and preparing for launch.
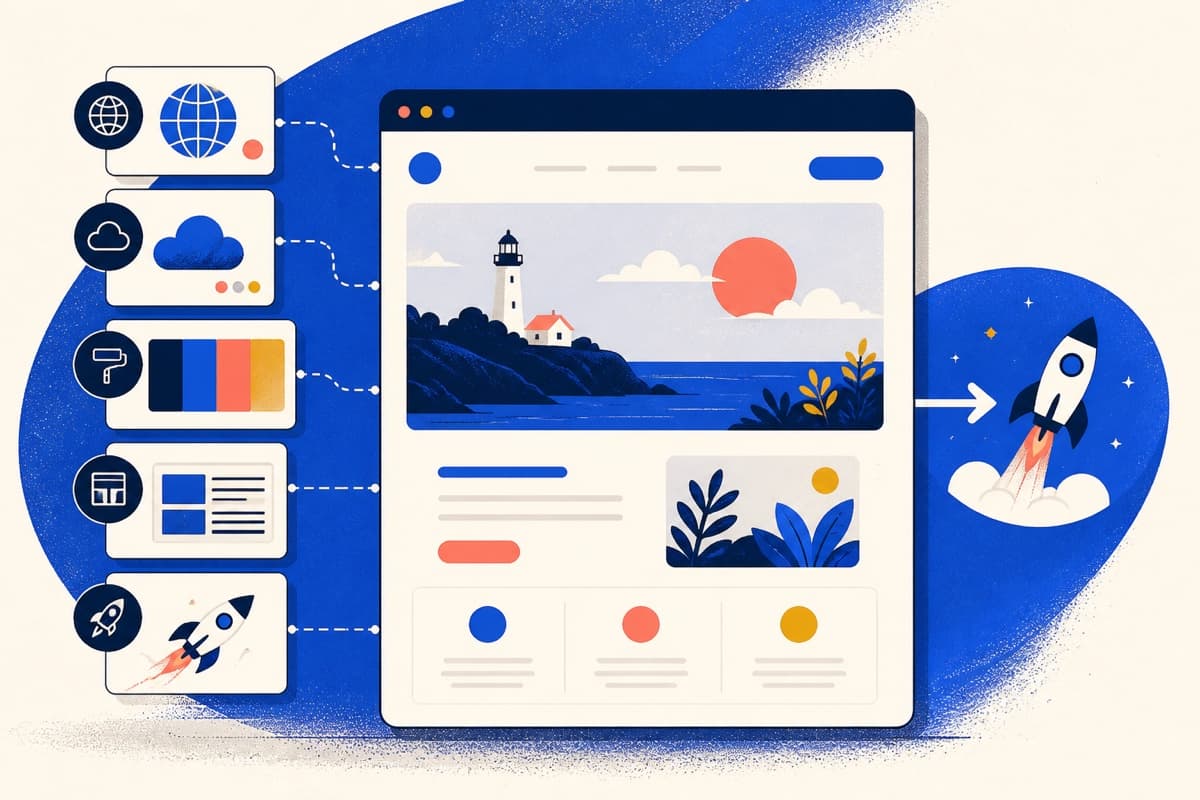
Building your first website can feel intimidating, especially when terms such as hosting, domains, themes, and plugins start appearing all at once. The good news is that you do not need to be a developer to create a useful WordPress website.
This guide focuses on self-hosted WordPress and walks through the process in a practical order. By the end, you will have a clear path from an initial idea to a website that is ready for visitors.
1. Decide What Your Website Needs to Do
Before choosing colors or browsing themes, decide what the website is supposed to accomplish.
Are you creating:
- A personal blog?
- A portfolio?
- A business website?
- An online store?
- A membership or community website?
Write down the main goal and the pages you expect to need. Most small websites begin with a Home page, About page, Contact page, and one or more service or product pages.
This short planning step prevents you from choosing tools based on appearance alone. The official WordPress getting-started guide also recommends planning your pages, categories, content, and site structure before installation.
2. Choose a Domain Name and Hosting Provider
Your domain name is the address people type to visit your website. Hosting is the service that stores the website and makes it available online.
A good domain name should be:
- Easy to spell
- Easy to remember
- Relevant to your name or business
- Short enough to share comfortably
- Free from unnecessary hyphens and numbers
When comparing hosting plans, look beyond the introductory price. Check renewal costs, customer support, backups, security features, storage limits, and whether the provider offers a staging environment.
Many hosting providers include a one-click WordPress installer. This is usually the easiest option for beginners because it handles the database and basic installation automatically.
3. Install WordPress
After purchasing hosting, sign in to your hosting control panel and look for an option such as Install WordPress, WordPress Manager, or One-Click Installation.
During installation, you will normally need to provide:
- Your website name
- An administrator username
- A secure password
- An administrator email address
- The domain where WordPress should be installed
Avoid using admin as your username. Choose a unique username and store the password in a trusted password manager.
If your host does not provide an automatic installer, follow the official WordPress installation documentation or ask your hosting provider for help.
Once installation is complete, you can usually access the dashboard by visiting:
https://yourdomain.com/wp-admin
4. Complete the Basic Website Settings
It is tempting to start designing immediately, but a few basic settings should be handled first.
Open Settings → General and review your site title, tagline, administrator email address, language, timezone, and date format.
Next, visit Settings → Permalinks. For most business websites and blogs, the Post name structure creates clear URLs such as:
yourdomain.com/sample-article/
WordPress provides several permalink options, which are explained in the official permalink settings guide.
You should choose a sensible structure early because changing URLs after publishing content may require redirects.
5. Choose a Suitable WordPress Theme
A theme controls the general appearance and layout of your website. It affects typography, colors, spacing, navigation, templates, and other visual elements.
Choose a theme based on what your website needs rather than how impressive its demo looks.
Look for a theme that is:
- Responsive on mobile devices
- Regularly maintained
- Compatible with the current WordPress version
- Easy to customize
- Well documented
- Lightweight and fast
You can browse themes by going to Appearance → Themes → Add New. Preview a theme before activating it. WordPress also provides guidance for working with themes.
Start with a simple design. Good spacing, readable text, and clear navigation are more valuable than complicated animations.
6. Create Your Essential Pages
With the theme installed, begin adding the pages visitors will need.
A typical business website may include:
- Home: Explain what the website offers and guide visitors toward the next step.
- About: Introduce the person, company, or purpose behind the website.
- Services: Describe what you provide and who it is for.
- Blog: Publish useful articles, updates, or educational content.
- Contact: Give visitors a reliable way to reach you.
- Privacy Policy: Explain how the website collects and uses personal information.
Keep the navigation focused. If every page appears in the main menu, visitors may struggle to find the pages that matter most.
Before publishing, read each page as if you were visiting the website for the first time. Make sure the purpose of the page is clear within the opening paragraph.
7. Install Only the Plugins You Need
Plugins add features that are not included in the basic WordPress installation. They can help with contact forms, backups, security, search optimization, caching, and other tasks.
To add one, go to Plugins → Add New. WordPress’s plugin management documentation explains how to install, update, deactivate, and remove plugins.
Before installing a plugin, check:
- When it was last updated
- Whether it supports your WordPress version
- Whether documentation is available
- Whether it duplicates an existing feature
- Whether your hosting provider already offers the same function
Avoid installing several plugins that perform the same job. More plugins mean more updates, settings, and possible conflicts.
8. Prepare the Website for Launch
Before sharing your website, test it carefully.
Use this short launch checklist:
- Check the website on desktop, tablet, and mobile.
- Test every contact form.
- Confirm that notification emails arrive.
- Check menus, buttons, and links.
- Remove sample pages and placeholder text.
- Proofread important content.
- Add a favicon and website logo.
- Confirm that HTTPS is working.
- Create a current backup.
- Review your privacy settings.
- Check Tools → Site Health for important issues.
Ask someone unfamiliar with the website to complete a simple task, such as finding your contact information. Their experience may reveal problems that are easy to miss when you already know where everything is located.
Keep Improving After Launch
Launching a WordPress website is not the end of the project. A website needs regular attention to remain useful and dependable.
Set aside time to:
- Update WordPress, themes, and plugins
- Review backups
- Check for broken links
- Publish or refresh useful content
- Monitor website speed
- Review security alerts
- Test important forms
You do not need to perfect everything before launching. Start with a clear, functional website and improve it using real feedback from visitors.
Final Thoughts
Creating a WordPress website becomes much easier when you work in the right order: define the goal, choose reliable hosting, install WordPress, configure the basics, select a suitable theme, create essential pages, and add only the features you need.
Keep the first version simple. A focused website with helpful content, clear navigation, and dependable maintenance will usually perform better than a complicated site that is difficult to manage.
Share