How to Disable a Faulty Plugin Without Dashboard Access
Regain access to WordPress by safely disabling a faulty plugin through Recovery Mode, the hosting file manager, SFTP, WP-CLI, or the database.
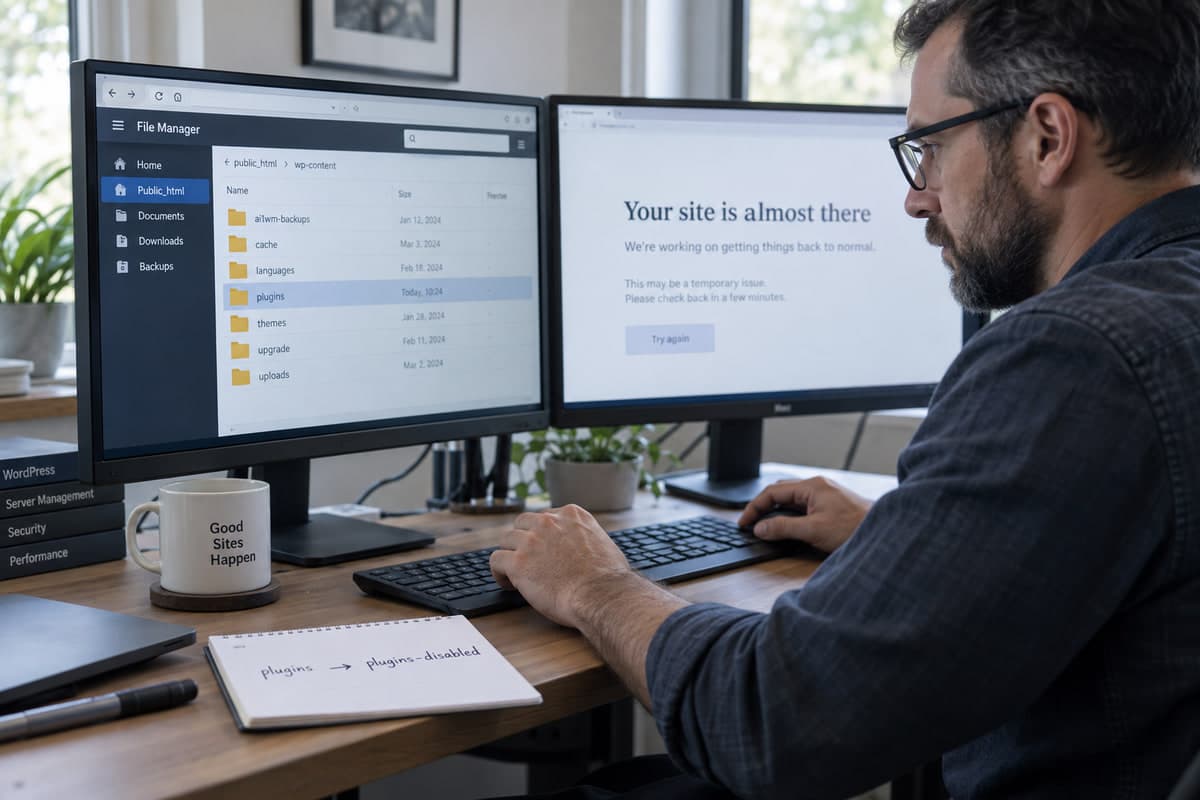
A bad plugin can lock you out of the dashboard, trigger a critical error, or create a redirect loop. You don't need dashboard access to disable it. Use the least invasive method first. Keep a record of every change.
Back up the site before you start. If WordPress sent a Recovery Mode email, use that before touching files manually.
Method 1: Recovery Mode (Try This First)
When WordPress detects a fatal error, it emails the admin a Recovery Mode link. The subject line is usually "Your Site is Experiencing a Technical Issue." The link looks like this:
https://example.com/wp-login.php?action=enter_recovery_mode&rm_token=...Open the link. Log in. WordPress pauses the failing plugin or theme for that session. Deactivate it from the dashboard. Then exit Recovery Mode and test the site again.
This is the cleanest option. It affects only the component WordPress identified. Don't ignore the email if you get one—it tells you exactly which plugin failed.
Method 2: Rename One Plugin Folder
No Recovery Mode email? No dashboard? Connect via SFTP or the hosting file manager. Open:
/wp-content/plugins/Find the suspected plugin folder. Rename it. For example:
contact-form → contact-form-disabledWordPress treats the folder as missing and deactivates the plugin. Reload the dashboard. If access returns, that plugin was involved.
Restore the original folder name before reinstalling or testing a clean copy. Don't reactivate it until you know why it failed.
Method 3: Rename the Entire Plugins Folder
If you don't know which plugin failed, rename the whole directory:
plugins → plugins-disabledThat deactivates all standard plugins at once. The dashboard should load. Then rename the folder back to plugins. Plugins stay inactive. Reactivate them one at a time until the problem returns.
Two things to remember:
- MU-plugins aren't affected. Files in
/wp-content/mu-plugins/load automatically and can't be deactivated this way. If a must-use plugin is the problem, rename that folder instead. - Your site is briefly unprotected. Security, caching, and ecommerce plugins are all off. Use a maintenance window, or password-protect the site with hosting tools while you test.
WordPress includes manual plugin deactivation in its troubleshooting FAQ.
Method 4: WP-CLI (Fastest If You Have SSH)
If the host gives you command-line access, WP-CLI deactivates plugins without renaming folders. Run commands from the WordPress root directory.
List plugins first to get the exact slug:
wp plugin listDeactivate one plugin:
wp plugin deactivate contact-formDeactivate all plugins:
wp plugin deactivate --allReactivate one at a time:
wp plugin activate contact-formWP-CLI is fast and clean. Just confirm you're in the right WordPress installation. If several sites share one hosting account, the wrong directory means you've just disabled plugins on the wrong site.
Method 5: Edit the Database (Last Resort)
The active plugin list lives in the wp_options table under active_plugins. Editing it directly is risky. The value is serialized. Change the string length and the whole option breaks.
Only do this if Recovery Mode, folder renaming, and WP-CLI are all unavailable. Export the table first. Follow a method from your host or an experienced developer. Don't guess at the serialized format.
After You Regain Access
Once the dashboard loads, don't just reactivate everything and move on. Find out what actually broke.
On staging, activate plugins one at a time. Repeat the action that caused the failure. Check the PHP log after each test. The problem might be a conflict between two plugins, not one plugin on its own.
A faulty caching plugin once caused a redirect loop that locked the admin out of a WooCommerce store. Renaming one folder fixed the lockout. The real fix was a settings conflict with the host's server cache. That's the kind of detail the log shows you—if you look.
Update the responsible plugin. Check its support forum. Confirm it's compatible with your WordPress and PHP versions before reactivating it.
What Matters
Recovery Mode or renaming one plugin folder gets you back in most of the time. Disable everything only when you have to. Use staging to find the exact conflict before reactivating on production.
Keep a record of what you changed and when. If the site breaks again, you'll know where to look.
Share